Home   About Me 
Showing posts with label Computer. Show all posts

Thursday, March 17, 2011

Unboxing CISCO Linksys WAG160N

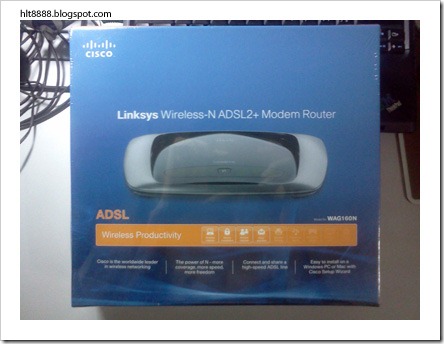
The following will show what are the things included in the CISCO Linksys WAG160N Modem Router which i have bought during IT Show 2011 March.
IMG080

IMG083

IMG085

IMG087

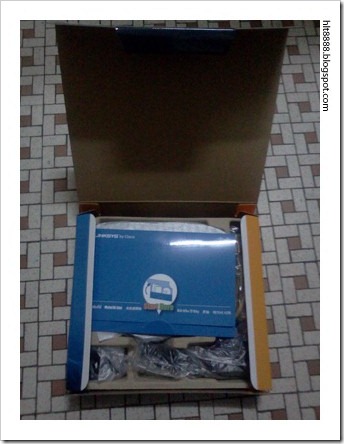
Items as shown in the above photo are:

  1. WAG160N Modem Router
  2. Installation CD (packaged in the blue envelop)
  3. Phone line cable
  4. LAN cable
  5. 3-pin connector
  6. 2-pin connector
  7. Power adapter

IMG088

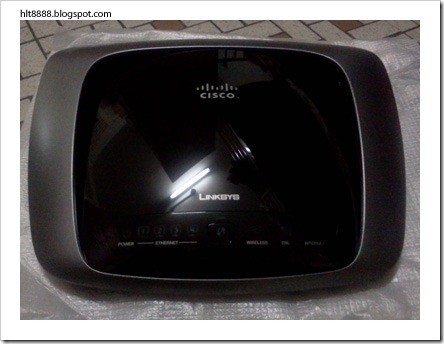
The spaceship looking WAG160N Modem Router ^_^
IMG089

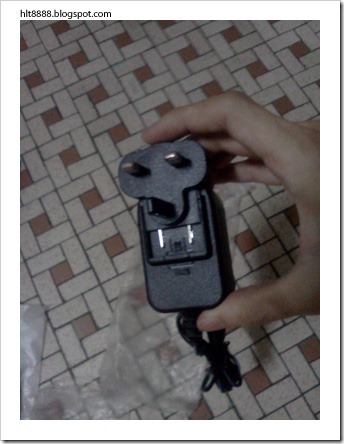
Users are given to options to choose whether they want to use the 3-pin connector or the 2-pin connector for your power adapter. For me i chose to use the 3-pin connector. Just slot the connector into the power adapter as shown in the above photo. Once its done correctly, it should look something like the one in the photo below.

IMG090

IMG092

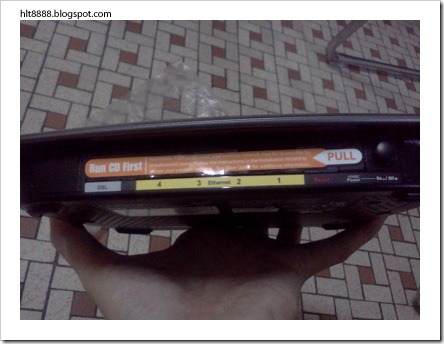
It comes with 1 DSL line-in for internet source and 4 Ethernet slots.

IMG093

This is the installation CD. Just run it and follow the steps and everything will be setup nicely… ^_^


IT Show 2011 March

Wahaha~! IT show… time to get some gadgets~! Let’s take a look at this new mouse that I have bought from there…

P1030389

IMG079

I bought this PowerLogic GMX-5 Laser Mouse at S$28.00. I have been using the IBM mouse that comes with my IBM T60 Laptop for around 3+ years… and its clicks starts to get less responsive… so bought this new one… lol ^_^

This GMX-5 has got these 2 buttons on its left side. The 2 buttons serve as a forward and backward button when surfing net on browsers. But i seldom use the 2 buttons… maybe just not use to it… lol ^_^

It has another circle button behind the scrolling wheel. That button is toggle button to change the mouse’s sensitivity. It has 3 modes of sensitivity, low, moderate and high.

Next, is this modem router that i have bought there one day after i bought that mouse…

IMG080

IMG082

I bought this CISCO Linksys Wireless-N ADSL2+ WAG160N Modem Router at S$149.00. I have been using the 2WIRE 2701HGV-E Modem Router that comes with SingTel MIO Home package… Seriously, I have bad experiences using that 2WIRE Modem Router… I have like 2-3 of that as I have been using SingNet Broadband for quite a couple of years. That modem router disconnect me from the internet quite often after like 1 year of usage… so its like its life span is only 1 year… thereafter, it will give you headache…

That's why I bought this CISCO Linksys Modem Router, hoping that it will perform better than that given by SingTel. ^_^


Friday, May 15, 2009

Testing PSU (Power Supply Unit) without using Mainboard

Went to Eddy’s house today to see (eye power… LoL) NYC helping Eddy to troubleshoot his PC. Saw how he test if the PSU is working. Its amazing to me. I didn’t know it can be done that way until he show it to me, cool!

I was told that a PSU won’t run unless it is connected to a mainboard. So how to test a PSU without connecting it to the mainboard?

Firstly you need a PSU and a jumper wire. Oh yah, and a power source too… of course… . Connect the PSU to the power source and power it on. By using the jumper wire (or anything similar and is safe), short the Power on (or PS_ON#) pin and the Ground (or GND) pin of the PSU main connector. The following 2 pictures show the layout of the PSU main connector of 20-pin ATX and 24-pin ATX.

20pinATX_powerSupplyConnector    24pinATX_powerSupplyConnector

It is said that when the Power on pin is pulled to TTL (Transistor–Transistor Logic) low, the PSU will start to provide those ±12V, ±5V and +3.3V to the outlet cables. For more infomation on why is it designed like this, read section 3.3.2 PS_ON# (page 19) of this pdf file –> http://www.formfactors.org/developer%5Cspecs%5CATX12V_1_3dg.pdf

Therefore we can simulate this TTL low by shorting the Power on pin to the Ground pin. In another words, just short the Green wired pin with any Black wired pin will do.

However, it is also mentioned in this article that doing this repeatedly or too many times can cause damage to your PSU. So I wouldn't recommend doing this on your own PSU (which means: feel free to do it if you are helping your friend to troubleshoot his/her PC… wahahaha~!), unless it is a last resort.

Oh and I found this article that shows you the whole process with photos.
http://lichyetan.blogspot.com/2009/03/how-to-jump-start-atx-power-supply-unit.html


Tuesday, February 24, 2009

Samsung 160GB 2.5’ Portable Hard Disk

Samsung 160GB Portable HDD 

Finally got myself a portable hard disk. Storage size of 160GB. Bought it from Sim Lim Square at the price of S$72.00.

As shown on the photo on the right. it comes with a USB cable, a black coloured pouch, a small cross-head screwdriver and the Hard Disk with its aluminum casing on.

The picture below shows how it looks when it is connected to the PC. The LED blinks green and red.

HDDrunning


Related Posts Plugin for WordPress, Blogger...